ch
ch English

Key Takeaways
Effective fiberglass sculpting on a budget requires strategic material choices and methodical construction. Start by exploring alternatives to premium resins—polyester-based composites often provide comparable durability at lower costs. For structural integrity, alternate fiberglass matting with affordable filler materials like gypsum-bonded burlap to reduce weight and material expenses.
"Layering thin fiberglass sheets with plaster-infused fabric creates a composite structure that resists warping better than thick resin applications alone."
Preventing cracks in large pieces demands attention to thermal expansion. Work in temperature-controlled environments below 80°F (27°C) and avoid curing layers in direct sunlight. When replicating bone textures, mix marble dust with final resin coats—this $12/kg additive creates micro-fissures that mimic organic surfaces when sanded.
"Rotate sculptures 45 degrees during curing phases to ensure even resin distribution in complex geometries."
For ventilation-free workspaces, opt for low-VOC resins and apply them with roller brushes rather than sprayers to minimize airborne particles. Reinforce load-bearing sections with threaded steel rods embedded during layering—this $0.80/ft solution prevents sagging in multi-piece installations. Always complete stress tests on prototype segments before final assembly to identify weak points cost-effectively.
Budget Fiberglass Sculpting Alternatives
When creating fiberglass sculptures on a budget, material substitutions can reduce costs without sacrificing structural integrity. Polyester resin, while less expensive than epoxy alternatives, remains effective for small to medium projects when paired with fiberglass matting. For armatures, consider repurposing materials like PVC piping, chicken wire, or even carved foam insulation—all of which provide lightweight foundations. Household items like plastic buckets or cardboard tubes can also serve as molds for curved sections, minimizing waste.
A hybrid approach combining plaster-coated burlap with fiberglass layers offers added durability for high-stress areas, particularly in kinetic sculpture designs requiring movement. To further lower expenses, substitute pricey gel coats with automotive body filler for preliminary shaping, sanding it smooth before applying finishing resins. Always prioritize proper fiber-to-resin ratios (typically 30% fiber by weight) to prevent brittleness—a common issue in cost-driven projects. These methods align with subsequent layering techniques, ensuring seamless transitions to crack-prevention strategies discussed later.

Preventing Cracks in Large Artworks
Cracks in large fiberglass sculptures often result from uneven curing, material stress, or insufficient structural planning. To minimize these risks, begin by selecting a resin-to-catalyst ratio tailored to your workspace temperature. For example, a 2:1 ratio works best in environments below 75°F (24°C), slowing curing to reduce internal tension. Reinforce high-stress areas—like joints or curves—with layered fiberglass mesh, which distributes weight more evenly than traditional burlap.
| Factor | Prevention Strategy |
|---|---|
| Thermal Expansion | Use flexible resin blends |
| Weight Distribution | Add carbon fiber strips to load zones |
| Curing Speed | Apply thin layers (≤1/8 inch per coat) |
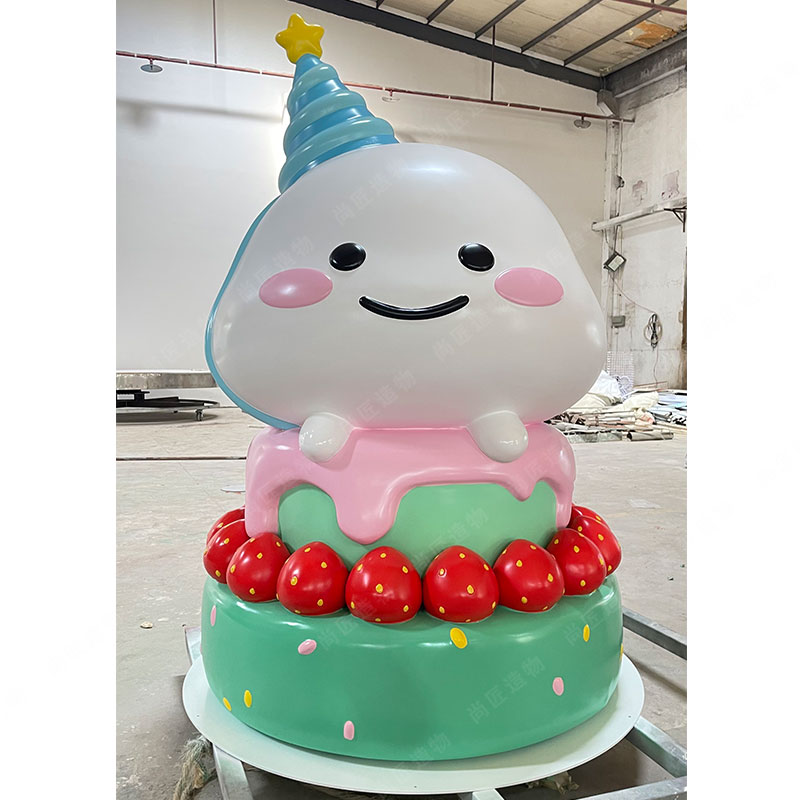
Avoid abrupt temperature changes during curing by maintaining a stable workspace. For sculptures over 6 feet tall, build an internal steel or PVC armature—this reduces flexing that can strain the fiberglass. When blending materials, consider hybrid approaches: a plaster-and-burlap base provides rigidity at lower costs, while surface layers of fiberglass ensure durability. Cartoon sculpture designs, for instance, often use lightweight foam cores to limit stress on outer layers. Finally, sand each cured layer with 120-grit paper to create a textured surface that improves adhesion for subsequent coats.
Layering Techniques for Durable Bases
Building a stable foundation for fiberglass sculptures begins with strategic layering. Start by applying a thin coat of resin to your armature, followed by a fiberglass mat cut into manageable strips. Overlap each strip by 1–2 inches to eliminate weak points, pressing firmly to remove air pockets. For cost efficiency, alternate between budget-friendly materials like chopped strand mat and lightweight cloth, ensuring each layer fully cures before adding the next.
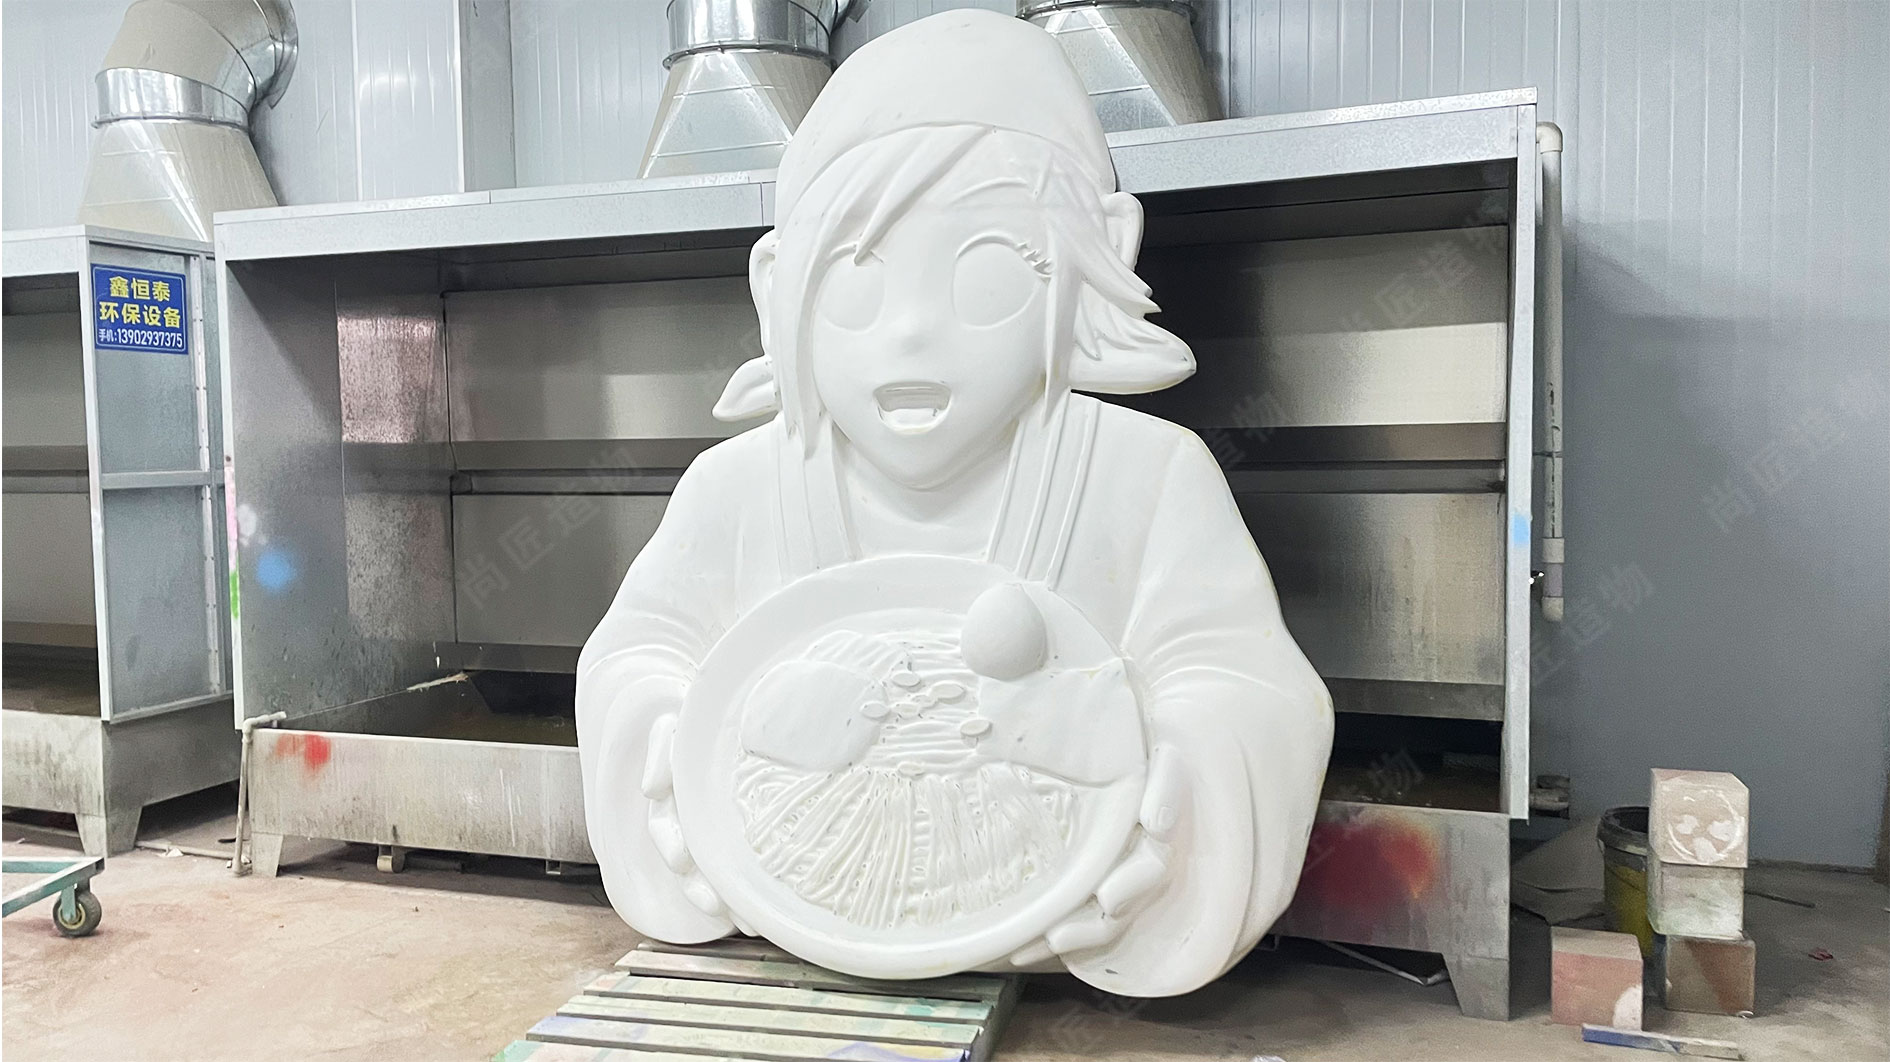
To prevent cracks, focus on sealing edges thoroughly. Use a stiff brush to work resin into crevices, creating a seamless bond between layers. For added strength in high-stress areas, reinforce with burlap strips soaked in resin—a technique often seen in IP character sculpture installations. Maintain consistent thickness across the base, as uneven sections are prone to warping under weight. A heat gun on low settings can help smooth trapped bubbles without damaging the fiberglass.
This approach not only strengthens the sculpture’s core but also prepares the surface for finishing steps. Proper curing times between layers (24–48 hours) ensure chemical bonds mature fully, reducing long-term brittleness. Adjust resin-to-hardener ratios slightly in cooler environments to compensate for slower drying, maintaining workflow continuity.
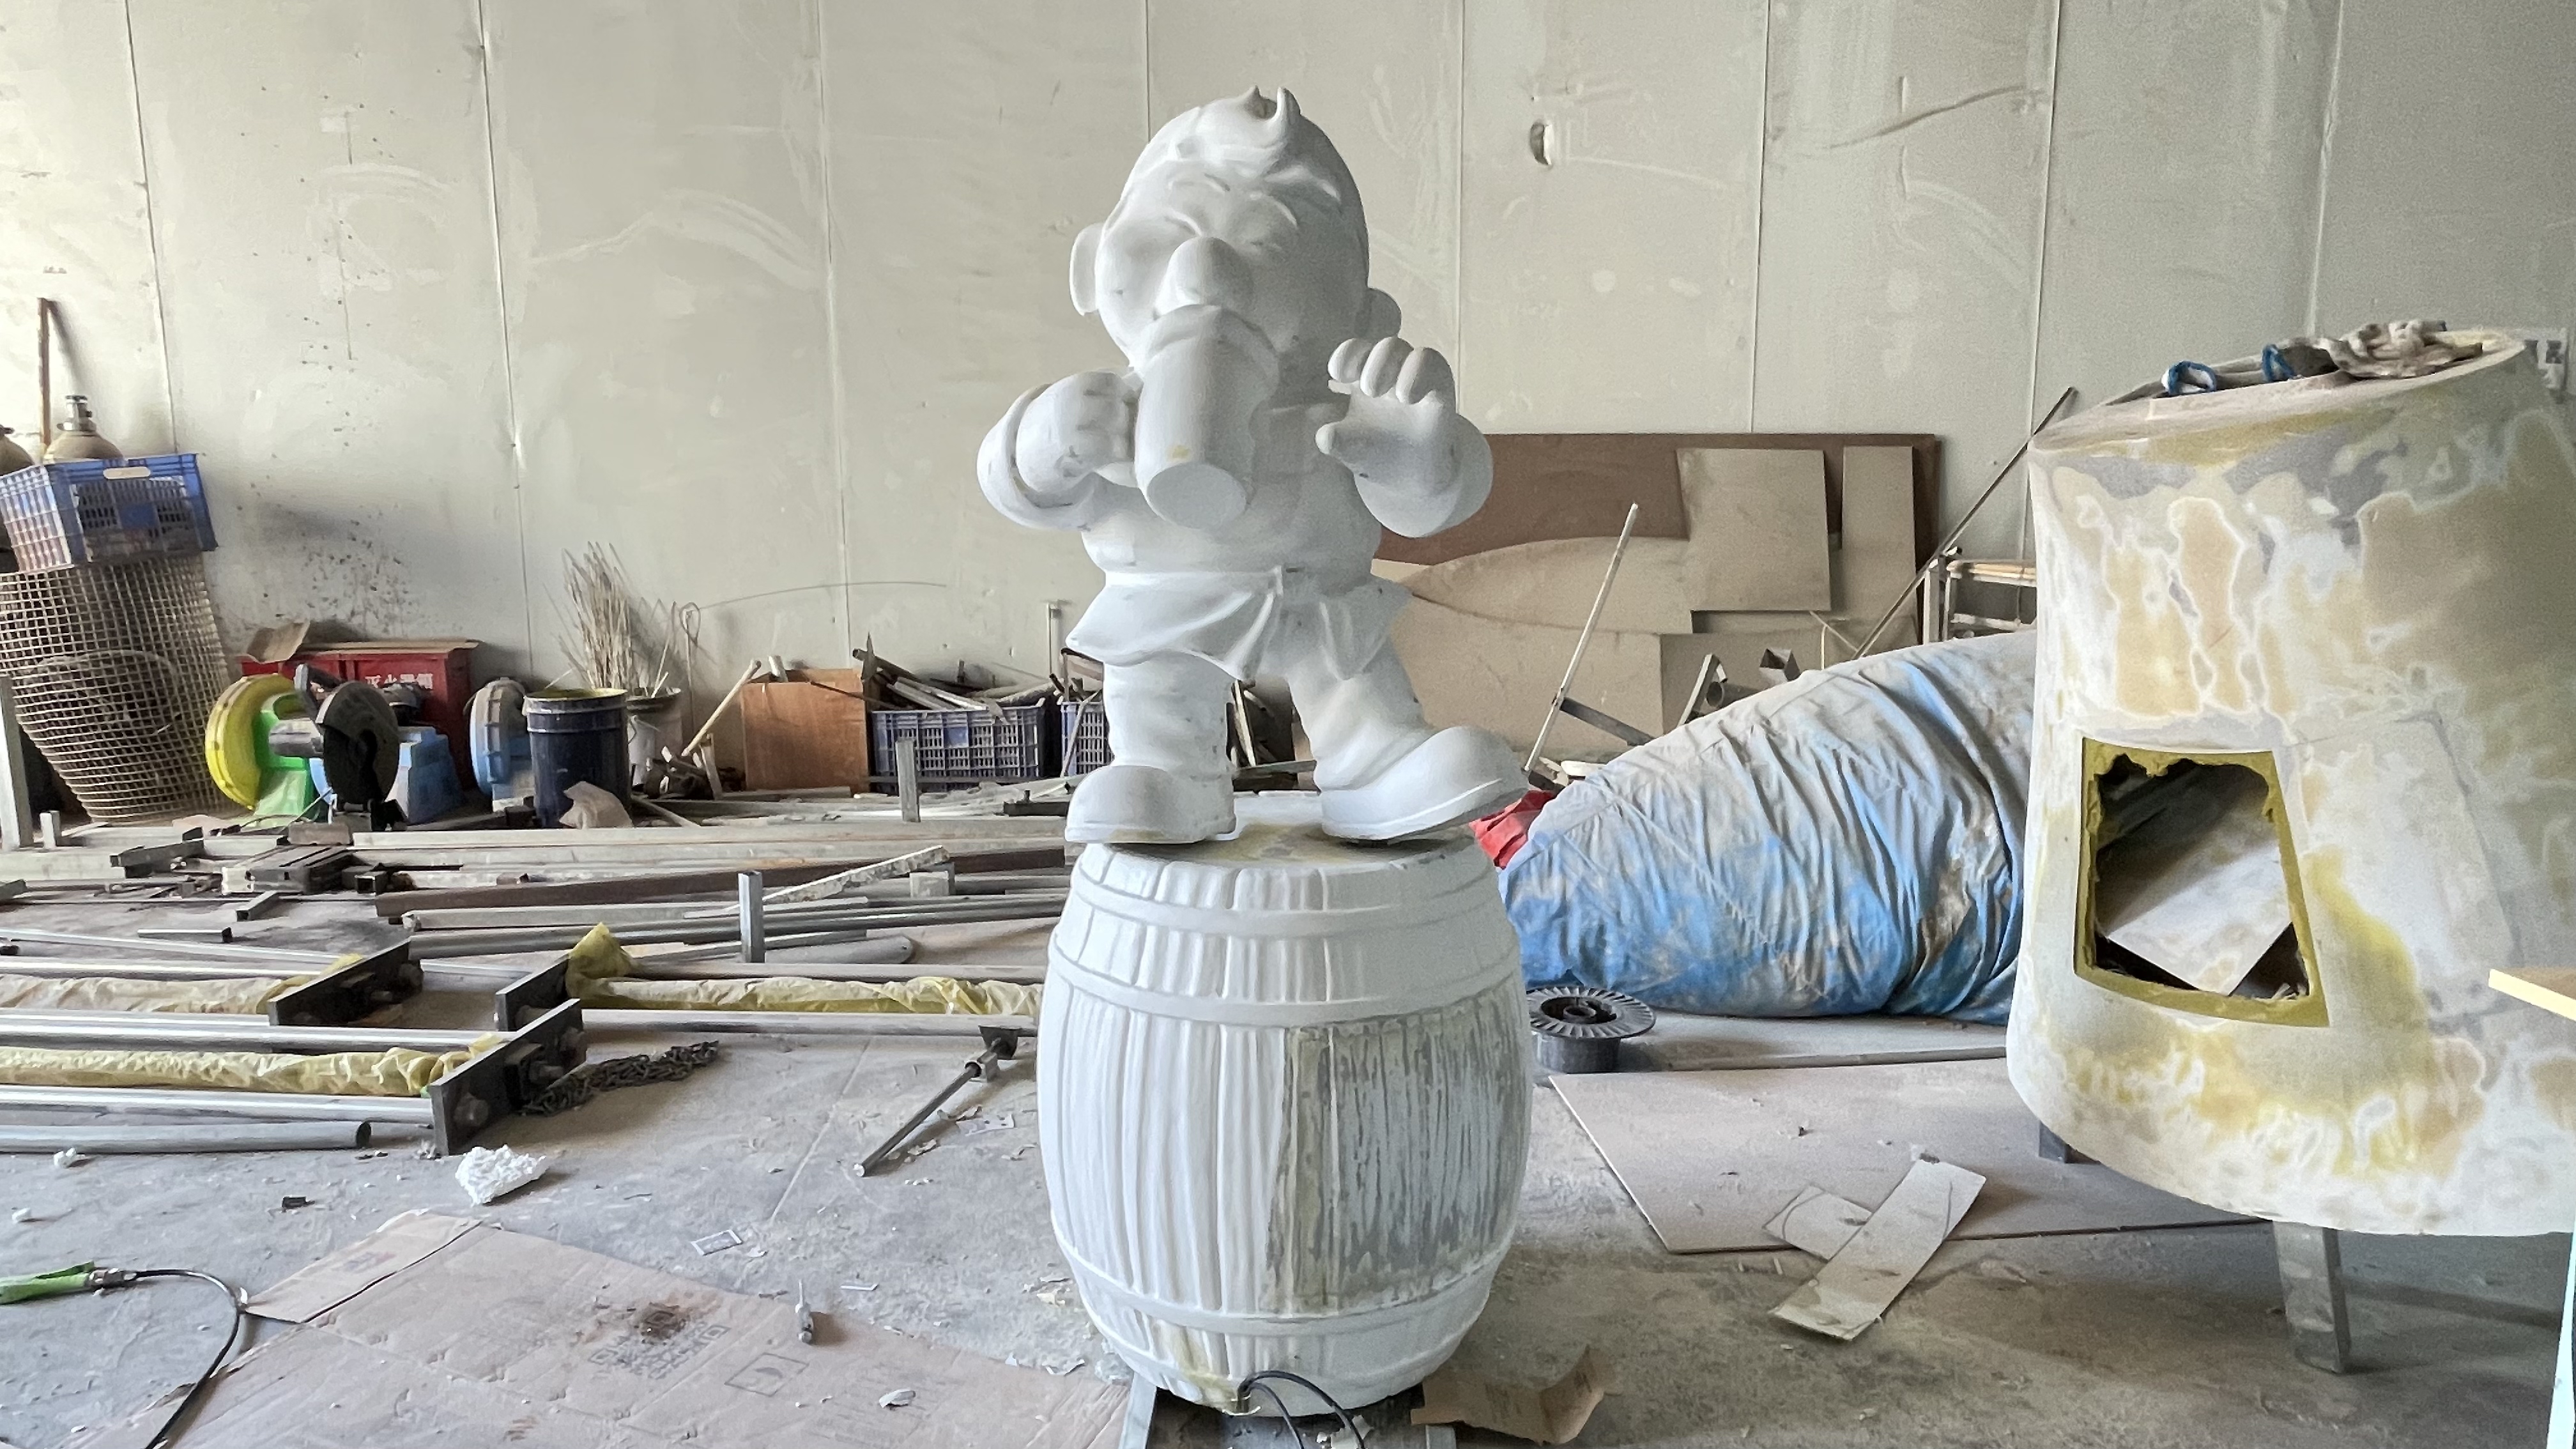
Achieving Bone-Like Finishes Affordably
Contrary to common assumptions, achieving realistic bone-like textures in fiberglass sculptures doesn’t require expensive specialty resins or professional airbrushing. Start by mixing standard automotive body filler with fine-grit sanding dust from cured fiberglass—a free byproduct of earlier sanding stages. Apply this paste in thin, irregular layers using stiff-bristle brushes or crumpled aluminum foil to mimic organic fissures and porosity. For subtle aging effects, dry-brush diluted acrylic paints (ivory, ochre, or gray) over cured surfaces, focusing on recessed areas to simulate natural sediment buildup.
Household materials like joint compound or lightweight spackle can substitute pricier texturing gels for shallow surface details. When sealed with matte polyurethane—applied in crosshatch strokes—these layers resist yellowing while maintaining a chalky, mineralized appearance. For larger sculptures, integrate stainless steel sculpture armatures during the initial layering phase to ensure structural stability beneath delicate finishes. This approach pairs well with low-cost resin application strategies, maintaining cohesion across the artwork’s aesthetic and functional requirements. Allow each layer to cure fully before texturing to prevent adhesion issues, and prioritize ventilation during sealing to accelerate drying times.
Low-Cost Resin Application Strategies
When working with limited budgets, optimizing resin usage becomes critical for achieving durable results without overspending. Start by selecting a polyester resin instead of pricier epoxy options—polyester bonds well with fiberglass mats and cures faster, reducing labor time. To stretch supplies further, thin the resin slightly with acetone (no more than 5% by volume) to improve spreadability, ensuring full saturation of reinforcement layers while minimizing waste. Apply resin in thin, even coats using disposable foam brushes or repurposed silicone kitchen tools, which provide better control than rollers for intricate surfaces.
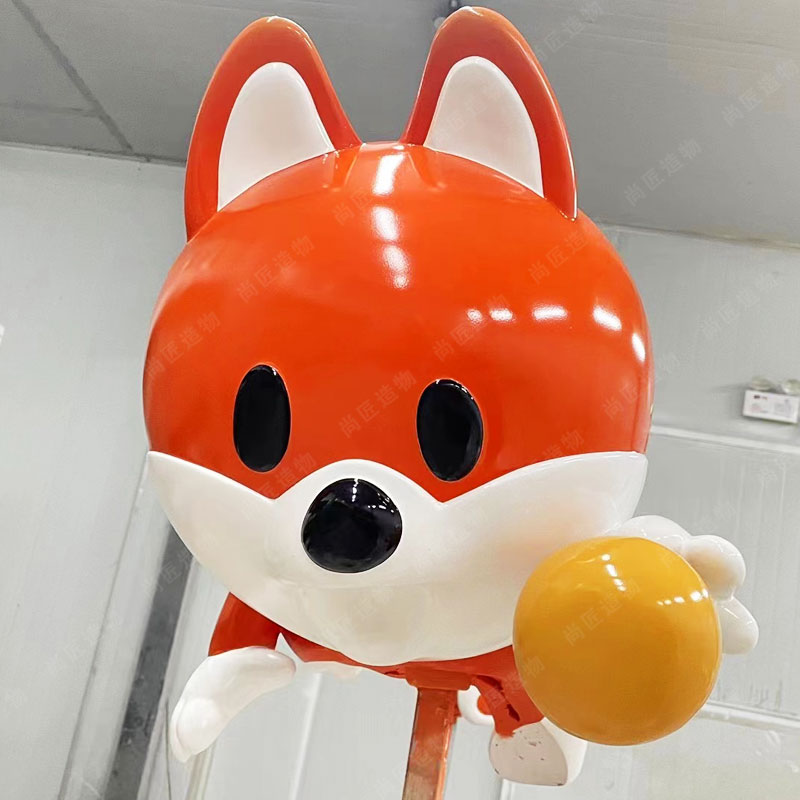
For large sculptures, work in sections to avoid premature curing. Layer fiberglass matting strategically: place smaller patches in high-stress areas like joints or curves, then cover with larger sheets for uniform strength. This targeted approach reduces material use by up to 20% compared to full-coverage methods. To cut costs further, substitute part of the resin with fiberglass sculpture-grade acrylic gel coat for the final surface layer, which offers comparable UV resistance at half the price. Always mix resin in small batches to prevent overheating and ensure proper curing—a common oversight that leads to sticky, weak spots requiring costly repairs. By prioritizing precision over speed, artists can maintain structural integrity while keeping material expenses under control.
Mixing Plaster and Burlap for Strength
Combining plaster and burlap creates a surprisingly durable composite material ideal for reinforcing large-scale fiberglass sculptures. Start by mixing plaster of Paris with water in a 2:1 ratio to achieve a thick, pancake-batter consistency. Cut burlap into strips or sheets, then fully saturate them in the plaster mixture. Apply the plaster-soaked burlap directly to your sculpture’s armature, overlapping layers by at least 30% to prevent weak seams. This method mimics the structural integrity of traditional fiberglass matting at a fraction of the cost, while allowing for precise contouring around complex shapes.
For optimal strength, alternate the direction of burlap fibers between layers—horizontal and vertical alignments distribute stress more evenly, reducing the risk of cracks under weight. Let each layer dry completely before adding the next; plaster’s quick-setting properties accelerate the process compared to resin-based methods. To refine surfaces, lightly sand hardened layers and apply a final thin plaster skim coat. This technique not only reinforces the sculpture’s core but also creates a smooth underlayer for achieving realistic sculpture finishes. When paired with strategic internal supports (discussed later), this hybrid approach ensures longevity even for outdoor installations exposed to shifting temperatures.
Structural Support for Heavy Sculptures
Creating stable frameworks for large fiberglass sculptures begins with understanding weight distribution. Unlike smaller pieces, heavy artworks require internal skeletons that balance rigidity and flexibility. Steel rebar or aluminum rods often serve as primary supports, shaped to match the sculpture’s contours. For budget-friendly options, PVC pipes or welded wire mesh can be layered with fiberglass matting, offering surprising durability at lower costs.
To prevent sagging or cracking, anchor the framework to a solid base—concrete slabs or reinforced plywood work well. Strategically placed crossbeams reduce stress points, especially in elongated forms like abstract figures or animal legs. When layering fiberglass, alternate resin-soaked cloth with structural elements, ensuring each bond cures fully before adding weight. For outdoor installations, coat metal supports with rust-resistant primers, and opt for marine-grade resins to withstand weathering.
A common mistake is underestimating lateral forces. Incorporate triangular bracing or tension cables in designs exposed to wind or uneven surfaces. Testing load capacity early—using sandbags or temporary weights—helps identify weak joints before finalizing the piece. By prioritizing a robust internal structure, artists ensure their sculptures remain intact for decades, even under demanding conditions.
Safe Ventilation-Free Workspace Solutions
Creating fiberglass sculptures indoors often raises concerns about fumes, but strategic material choices and workspace adjustments can minimize risks without complex ventilation systems. Start by opting for low-volatile organic compound (VOC) resins or pre-mixed fiberglass composites, which emit fewer harmful vapors during curing. For small-scale projects, UV-cure resins offer faster hardening times, reducing prolonged exposure.
When working in enclosed areas like garages or basements, position portable air purifiers with HEPA and activated carbon filters near the workspace to capture airborne particles and odors. Pair this with box fans placed in open windows to create gentle cross-ventilation—without the need for industrial exhaust setups. For added safety, schedule resin application during cooler hours to slow chemical reactions, giving fumes more time to dissipate naturally.
Protective gear remains critical: use respirators with organic vapor cartridges, nitrile gloves, and disposable coveralls to limit skin contact. Layering burlap or cheesecloth beneath fiberglass mats can also reduce airborne fiber release during shaping. Finally, seal floors and walls with plastic sheeting to simplify cleanup and prevent dust accumulation, ensuring a safer environment for long-term projects.
Conclusion
Affordable fiberglass sculpture creation hinges on balancing material innovation with structural precision. By integrating budget-friendly alternatives like plaster-burlap composites and optimized resin application strategies, artists can achieve professional-grade durability without overspending. The key lies in meticulous layering—building strong bases that distribute weight evenly to prevent stress cracks—while leveraging texturing techniques to mimic organic finishes like bone or stone.
Proper workspace setup, even in ventilation-limited environments, ensures safety during production. For large-scale projects, reinforcing internal frameworks with lightweight metals or repurposed materials adds stability without inflating costs. These methods, when combined, empower creators to focus on artistic vision rather than financial constraints.
As techniques evolve, experimenting with hybrid materials and refining curing processes will continue to expand possibilities. The true measure of success remains longevity: sculptures that withstand environmental stressors while retaining their aesthetic integrity. By prioritizing adaptable methods over expensive shortcuts, artists craft works that endure—both physically and conceptually—in public and private spaces alike.
Frequently Asked Questions
What budget-friendly materials can replace traditional fiberglass for sculpting?
When working on large pieces, consider combining plaster-impregnated burlap with polyester resin. This hybrid approach maintains structural integrity while reducing material costs by up to 40% compared to standard fiberglass mat systems.
How do I prevent hairline cracks in expansive sculptures?
Strategic reinforcement is key. Apply alternating layers of resin-soaked cheesecloth and hardware mesh during armature construction, allowing each layer to cure partially before adding the next. This staggered method accommodates material expansion/contraction.
Can I achieve realistic bone textures without specialized tools?
Yes – crumpled aluminum foil pressed into wet resin creates organic surface irregularities. Later sanding with 80-grit paper enhances these textures, while thin washes of tinted shellac add aged calcium deposits.
What’s the most cost-effective resin application method for beginners?
Use foam brushes and roller covers from dollar stores for small sections. For large surfaces, mix resin in disposable paint trays and apply with textured wallpaper rollers to minimize waste and ensure even distribution.
Why combine plaster with burlap instead of fiberglass?
The plaster-burlap matrix hardens faster than fiberglass layers, providing immediate structural feedback. Its rough texture also creates better mechanical adhesion for subsequent resin coats, reducing the need for expensive adhesion promoters.
How do ventilation limitations affect material choices?
Opt for low-VOC UV-cure resins in confined spaces. These cure with sunlight exposure rather than chemical catalysts, and their extended working time allows gradual application without toxic fumes.